Soundproof Bedroom Cheap DIY Methods: Create Your Peaceful Sleep Sanctuary
Quality sleep requires a quiet environment, but professional soundproofing can cost thousands. Fortunately, cheap DIY methods can significantly reduce noise without breaking the bank. These practical solutions use affordable materials and simple techniques to transform your bedroom into a peaceful retreat.
Understanding Sound Transmission
Sound travels through air gaps, vibrations, and thin barriers. Effective soundproofing addresses three principles: adding mass to block sound waves, creating air gaps to absorb vibrations, and sealing openings where sound leaks through. Understanding these basics helps you choose the most effective budget methods for your specific noise problems.
Method 1: Weather Stripping and Door Sweeps
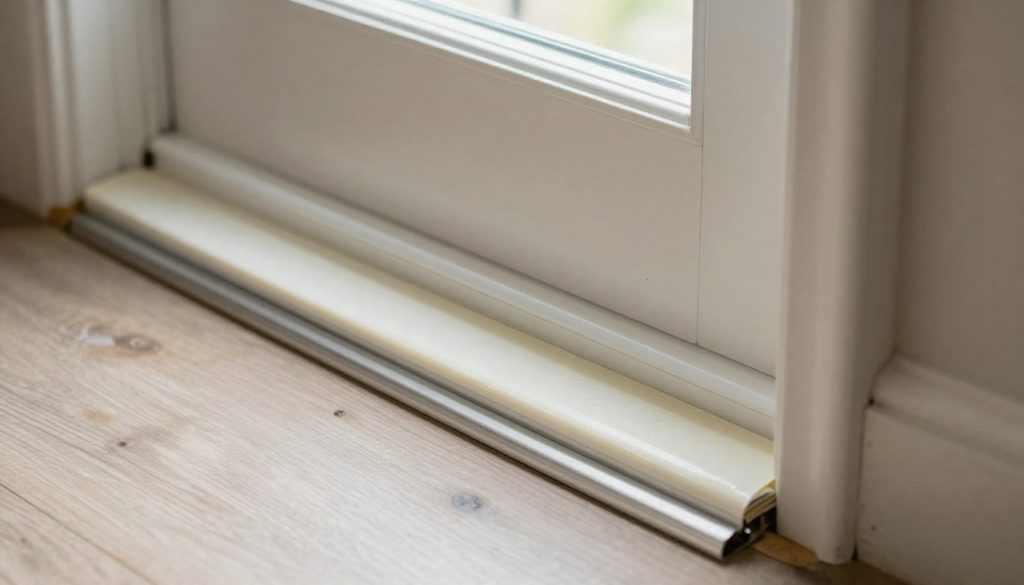
Gaps under and around doors are major sound leakage points. Install adhesive weather stripping along door frames and attach a door sweep to the bottom edge. This simple $15-20 solution blocks significant noise while also improving energy efficiency. Choose rubber or foam weather stripping for best results, ensuring tight seals when doors close.
Method 2: Heavy Curtains and Blankets
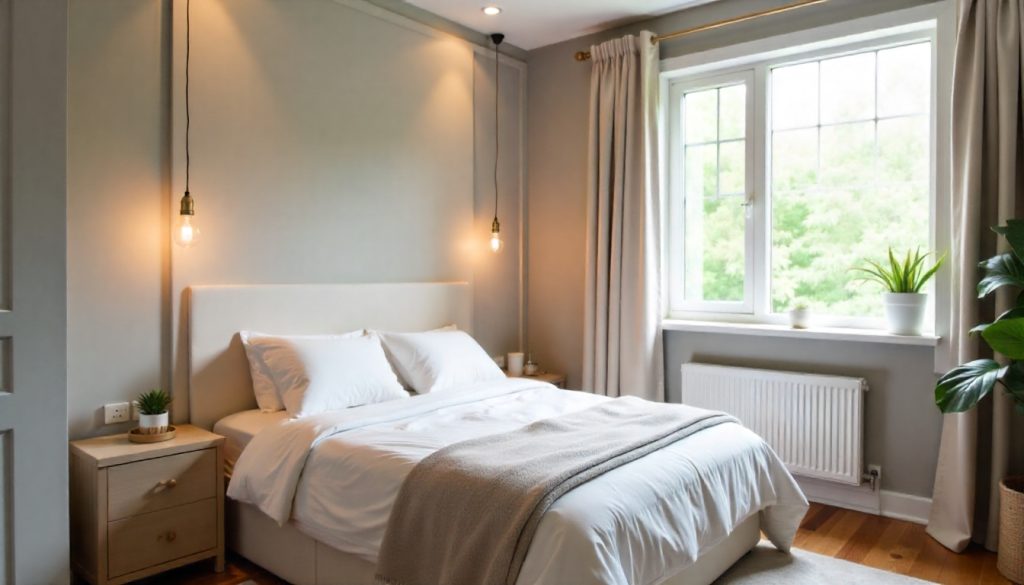
Hanging thick, heavy curtains over windows dramatically reduces outside noise. Look for curtains labeled “thermal” or “blackout” as they contain multiple dense layers. For budget options, hang heavy moving blankets or quilts using tension rods. Layer curtains—sheer curtains closest to windows, followed by heavy drapes—for maximum sound absorption.
Position curtains to cover entire walls if possible, extending several inches beyond window frames. The extra fabric surface area absorbs more sound waves. This method costs $30-100 depending on window size and fabric choice.
Method 3: Furniture Placement
Strategic furniture arrangement provides free soundproofing. Place tall bookshelves filled with books against walls adjacent to noisy areas. Books’ varying densities absorb and diffuse sound effectively. Position your bed away from shared walls with neighbors or noisy rooms. Use your closet as a sound buffer by ensuring it’s on the wall facing noise sources.
Large upholstered furniture like sofas or armchairs placed against walls add mass and absorption. Even dressers and wardrobes help block sound transmission. This method requires no expense—just rearranging existing furniture thoughtfully.
For home improvement tips, visit This Old House.
Method 4: Acoustic Panels from Household Materials
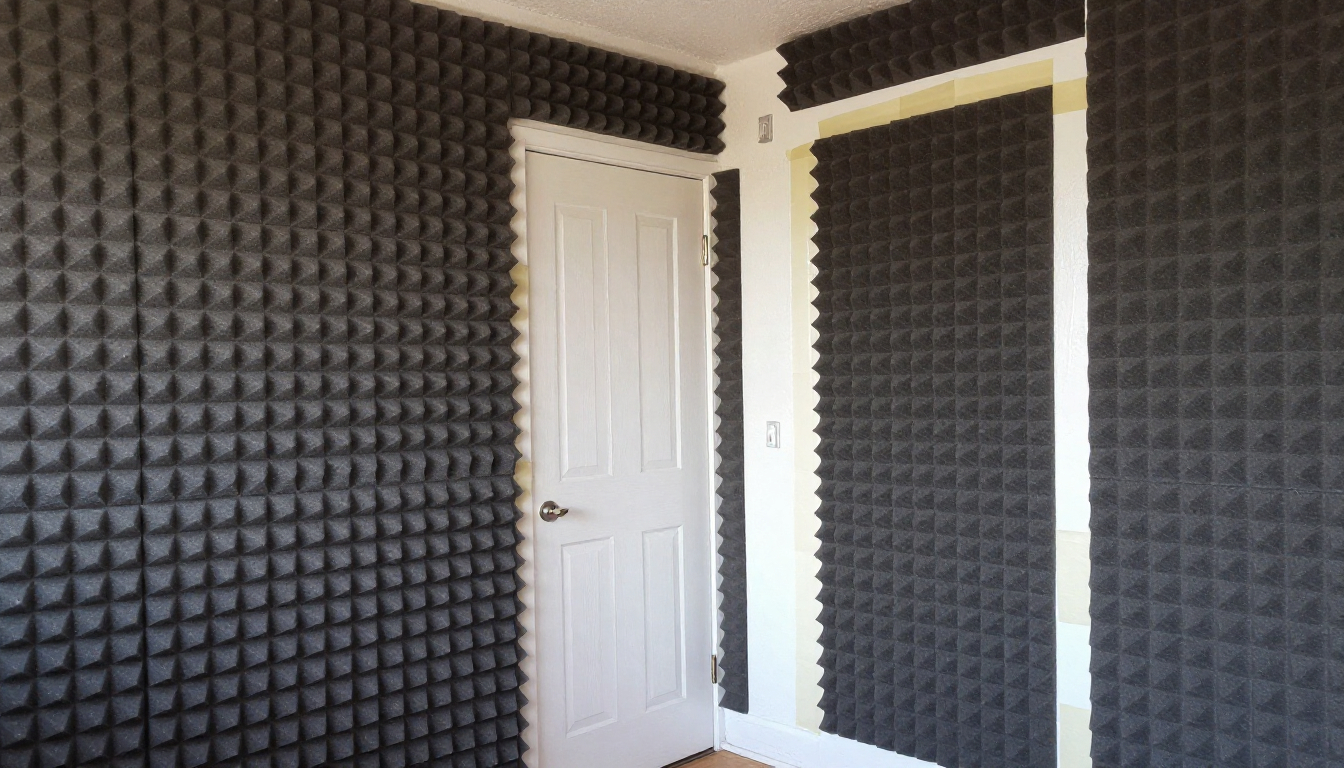
Create DIY acoustic panels using inexpensive materials. Cut rigid foam insulation boards into desired sizes and cover with attractive fabric. Mount these panels on walls using adhesive strips or picture hanging hardware. Alternatively, stuff old pillowcases with sound-absorbing materials like cotton batting or old clothes, then hang decoratively.
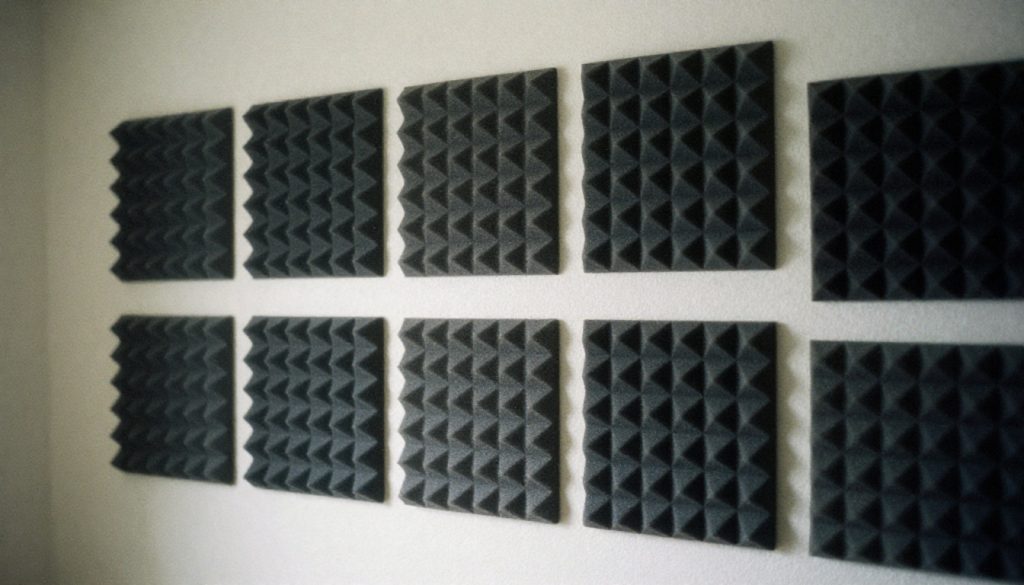
Egg cartons, while not highly effective alone, can be painted and mounted in layers for modest sound diffusion at virtually no cost. Focus panels on walls facing noise sources and ceiling areas where sound reflects most.
Method 5: Rugs and Carpeting
Hard floors reflect sound, amplifying noise. Cover floors with thick rugs, especially near doors and in traffic paths. Add rug pads underneath for additional sound dampening. Carpet remnants from home improvement stores cost significantly less than full installations and work excellently for soundproofing.
If you have hardwood or tile floors, layering multiple rugs creates better sound absorption than single thin rugs. This method also reduces noise you create, benefiting downstairs neighbors in apartments.
For affordable home solutions, explore Family Handyman.
Method 6: Seal Wall Outlets and Gaps
Electrical outlets and switch plates create direct sound channels through walls. Install foam gaskets behind outlet covers—these cost just a few dollars for multi-packs. Use acoustic sealant to fill gaps around baseboards, crown molding, and where walls meet ceilings. This often-overlooked step significantly reduces sound leakage.
Bonus Tips for Maximum Effectiveness
Combine multiple methods for best results—no single cheap solution blocks all noise, but layered approaches work remarkably well. Focus efforts on the wall or area where most noise enters. Create white noise using fans or sound machines to mask remaining sounds. Consider soft furnishings throughout—upholstered headboards, wall tapestries, and fabric wall hangings all contribute to sound absorption.
Address sound at its source when possible. If street traffic noise is your issue, focus on window treatments. For neighbor noise through shared walls, prioritize adding mass to those specific walls.
Budget Breakdown
Complete bedroom soundproofing using these DIY methods typically costs $50-200, compared to $1,000-5,000 for professional solutions. Weather stripping and door sweeps ($20), heavy curtains ($40-80), acoustic sealant ($15), rugs ($30-100), and DIY panels ($20-50) provide substantial noise reduction at minimal cost.
For budget home projects, visit DIY Network.
While cheap DIY soundproofing won’t match professional acoustic treatments, these methods create noticeably quieter bedrooms for peaceful sleep. Start with the easiest solutions and add more methods as needed until you achieve your desired noise reduction.