
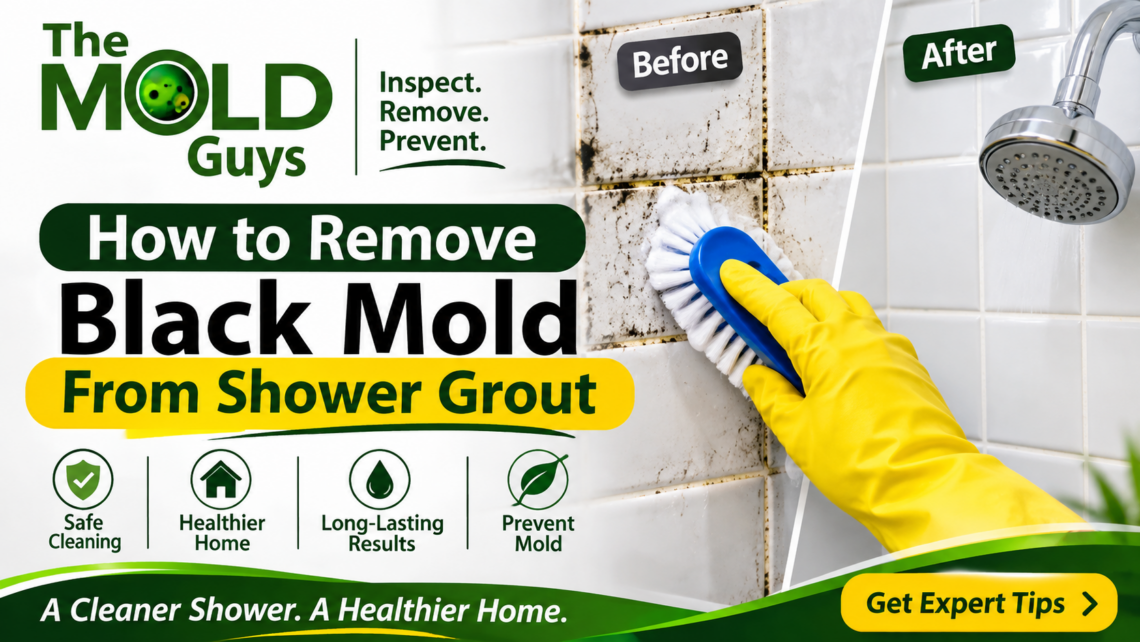
Dark streaks along the grout lines are one of the most common bathroom problems. They start as a few gray specks in a corner and slowly spread across the tile until the whole shower looks dirty no matter how often it is scrubbed. Grout is porous and it stays damp for hours after every shower. That makes it an easy place for mold to settle and grow. Knowing the right method for cleaning shower mold saves time and protects the tile and your health. This guide explains why grout grows black mold and how to confirm what you are dealing with. It also covers how to clean it safely and how to keep it from returning. You will also learn when the problem is bigger than the grout itself.
Why Shower Grout Grows Black Mold
Mold needs moisture and a food source along with a moderate temperature. A shower provides all three every day. Steam and water spray settle on the walls and floor and the grout absorbs a share of that moisture. Soap residue and body oils and dead skin cells collect in the grout lines and give mold something to feed on.
Grout is made from cement and sand and it is full of tiny pores. Water moves into those pores and stays there long after the surface looks dry. Mold spores that land on the grout can then grow roots into the material. This is why a quick wipe often removes the dark color for a few days and then it comes back.
Poor ventilation makes the problem worse. A bathroom without a working exhaust fan holds humid air for a long time. In Florida the outdoor air is already humid for most of the year so a closed bathroom can stay damp for hours. Grout that was never sealed or has not been sealed in years soaks up even more water.
Is It Really Black Mold?
Most people use the term black mold for any dark growth. Color alone does not tell you the species. Many common household molds look black or dark green or gray. Some stains on grout are also caused by soap scum or dirt or mildew that looks similar.
A simple test can help. Put a few drops of diluted bleach on a hidden spot of discolored grout. If the spot lightens within a minute or two it is likely mold or mildew. If the color does not change it is probably dirt or a stain. This test only gives a rough idea. Only laboratory testing can identify a specific species.
In practice the species matters less than the response. Any visible mold in a shower should be cleaned safely and the moisture behind it should be controlled.
Protect Yourself Before You Start
Cleaning disturbs mold and releases spores into the air. A few simple precautions reduce the risk.
- Wear an N95 respirator since a basic dust mask does not filter spores well
- Wear rubber or nitrile gloves and safety goggles without vent holes
- Open a window and run the exhaust fan to move air out of the room
- Keep children and pets out of the bathroom while you work
- Never mix bleach with vinegar or ammonia because the mixture creates dangerous fumes
Choose one cleaning product at a time and rinse the surface well before trying a different one. If you feel dizzy or your eyes or throat burn stop and leave the room right away.
What You Need
Gather your supplies before you begin so you do not have to leave the bathroom midway.
- A stiff nylon grout brush or an old toothbrush
- A spray bottle
- Baking soda and white vinegar
- Three percent hydrogen peroxide
- Dish soap and warm water
- Clean microfiber cloths and a bucket
- A squeegee or towels for drying
Avoid steel wire brushes. They scratch the tile and can wear down the grout surface which gives mold even more places to hold on.
Step by Step Method for Removing Mold From Grout
This method starts with the gentlest option and moves to stronger ones only if needed.
- Ventilate the room and put on your protective gear.
- Remove soap bottles and mats and anything else from the shower.
- Rinse the walls and floor with warm water to loosen surface dirt.
- Mix dish soap with warm water and scrub the grout lines with the brush. Rinse well.
- Mix baking soda with a small amount of water to make a thick paste. Spread it over the stained grout and let it sit for 15 minutes.
- Spray white vinegar over the paste. It will fizz. Let it work for another 10 minutes.
- Scrub the lines with the brush using short firm strokes. Rinse with clean water.
- For stubborn spots spray three percent hydrogen peroxide on the grout and leave it for 10 minutes. Scrub again and rinse.
- Dry the entire shower with a squeegee and towels. Leave the fan on and the door open.
Take your time with step nine. Grout that stays wet after cleaning invites the mold back within days. Good drying is part of cleaning shower mold properly and it is the step most people skip.
If dark color remains after two rounds you can use a diluted bleach solution on grout only. Mix one cup of bleach with one gallon of water. Apply it with a spray bottle and let it sit for 10 minutes. Scrub and rinse thoroughly. Keep the room well ventilated and never combine it with any other cleaner.
What to Avoid When Cleaning Grout
Some common habits make the problem worse.
Scrubbing too hard can wear down the grout and open more pores. Using undiluted bleach on colored grout can fade it and weaken the surface. Bleach also does not reach roots inside porous material so it often removes color without killing the growth below.
Spraying a cleaner and leaving it without scrubbing rarely works. Mold needs both the product and some mechanical action to lift it. Painting over grout or using a sealant on damp grout traps moisture and makes things worse. Always clean and dry first.
Avoid air fresheners and scented sprays in the bathroom. They hide the smell and make it harder to tell whether the mold is truly gone.
Dealing With Stubborn or Deep Stains
Some stains stay even after repeated cleaning. This usually means the mold has grown deep into the grout or that moisture is still reaching it from behind.
An oxygen bleach powder mixed with warm water according to the label can lift deeper stains without the harsh fumes of chlorine bleach. Apply it as a paste and let it sit for an hour before scrubbing. A steam cleaner can also help because hot steam penetrates pores and loosens residue. Let the grout dry fully afterward.
If grout stays dark or crumbles when scrubbed the better option is to remove the old grout and replace it. A grout removal tool lets you dig out the damaged material. Clean the gap and let it dry completely and then apply fresh grout. After it cures apply a quality grout sealer.
Seal the Grout to Slow Regrowth
Sealing is one of the best steps you can take after the grout is clean and fully dry. A penetrating grout sealer fills the pores and makes it harder for water to soak in. Apply it with a small brush or applicator and wipe off the excess from the tile. Follow the label for cure time before the shower is used.
Most showers need resealing once a year. A quick test tells you when it is time. Drip a little water on the grout. If it soaks in and darkens the grout the sealer has worn off.
Check the Caulk and the Surrounding Walls
Grout is only part of the picture. Mold often grows in the caulk along the tub and the corners where walls meet. Caulk that has dark spots running through it cannot be cleaned deeply. Cut it out and let the area dry and apply fresh silicone caulk made for bathrooms.
Look at the painted walls and the ceiling around the shower too. Steam settles on these surfaces and can feed growth above the tile line. The best mold remover for painted walls is a gentle one. Warm water with mild dish soap on a soft cloth is the safest start and diluted vinegar can help with stubborn spots. Test a hidden area first and dry the wall fully so the paint is not damaged. Our guide on the best mold remover for painted walls without damaging the paint covers the steps in more detail.
Check the drywall near the shower as well. The best mold remover for drywall is usually a light spray of diluted vinegar or a mild detergent solution since drywall absorbs liquid quickly and should never be soaked. If the board feels soft or crumbles or has stains that return after cleaning then no cleaner will fix it. The affected section has to be removed and replaced.
Signs the Problem Is Behind the Tile
Sometimes mold on the grout is only the visible part. Water can slip behind tile through cracked grout or failed caulk or a leaking valve. It then soaks the backing board and wall framing where nobody can see it.
Watch for these warning signs:
- Mold that returns within a week or two of thorough cleaning
- Loose or cracked tiles and grout that crumbles
- A musty smell in the bathroom even when the grout looks clean
- Soft spots in the wall or floor near the shower
- Stains or bubbling paint on the wall outside the shower
- Water stains on the ceiling of the room below
Any of these signs suggests moisture is getting into the wall. Cleaning the grout will not solve the cause and the hidden area may keep growing.
When Cleaning Is Not Enough
A small area of surface growth on grout can usually be handled at home. Some situations call for help.
Consider outside support when the mold covers more than about ten square feet or when it returns after repeated cleaning. Call when you find soft drywall or loose tile or when a smell remains after the grout looks clean. Call when someone in the home has asthma or allergies or a weakened immune system or when a leak or flood soaked the area.
In these cases a trained team can find the true extent of the problem. Professional mold removal services use moisture meters and thermal imaging to locate wet areas without tearing out the whole wall. They contain the work area so spores stay out of other rooms and remove damaged materials and dry the structure. Good teams also confirm the result with air testing before anything is rebuilt.
Choosing a Local Company
If you decide to bring in help the company you choose matters. When you search for mold removal services near me compare more than price. Ask whether the technicians hold current IICRC certification. Ask whether the company inspects before it quotes and whether the estimate is in writing. Ask how the work area will be contained and whether the moisture source will be repaired.
A local team understands the humidity and building styles in your area and can often respond quickly. Be cautious with any company that quotes a price without seeing the property or promises that one spray will solve the problem. Clear answers about containment and testing are a good sign.
Preventing Mold From Returning to Your Shower
Prevention takes a few minutes a day and works better than any cleaner.
Run the exhaust fan during every shower and for at least 20 minutes afterward. If your bathroom has no fan open a window or add a fan. Wipe the walls and glass with a squeegee after each shower so water does not sit on the surface. Hang towels to dry instead of leaving them on the floor.
Keep soap and shampoo bottles off the shower floor since they trap moisture. Wash the shower curtain or liner often or replace it when it gets dark spots. Fix any dripping faucets or showerheads. Keep indoor humidity below 50 percent with air conditioning or a dehumidifier. A small humidity meter shows when the room is too damp.
Inspect the grout and caulk every few months. Early spots are far easier to remove than a spread that has taken hold. Reseal the grout once a year and replace cracked caulk right away.
Conclusion
Black mold on shower grout is common and it is rarely a sign of poor housekeeping. It comes from daily moisture and porous materials and slow drying. Success comes from a safe method and thorough drying along with steady prevention. Start with gentle cleaners and move to stronger options only if needed. Seal the grout and fix the caulk and keep the room ventilated. A clear routine for cleaning shower mold keeps the tile looking fresh and protects the walls behind it. When growth keeps returning or you find soft walls or loose tile the cause is usually hidden moisture. At that point professional mold removal services can find the source and fix it completely. The Mold Guys have served homeowners across Southwest and Central Florida for over 25 years and offer mold inspection and testing and mold removal along with water damage restoration. Their team is available 24/7 at (941) 416-4113.
FAQs
Q: Can I use bleach alone to clean black mold from shower grout?
A: Bleach can lighten stains on grout but it often does not reach roots inside porous material. Scrub first with a brush and rinse well. Never mix bleach with vinegar or ammonia and keep the room well ventilated while you work.
Q: How often should I reseal shower grout?
A: Most showers need resealing about once a year. Test it by dripping water on the grout. If the grout darkens as water soaks in the sealer has worn off. Always clean and dry the grout fully before applying sealer.
Q: Why does the mold keep coming back after I clean the grout?
A: Common causes include poor ventilation and grout that stays wet or unsealed grout that absorbs water. Mold that returns within a week or two can also mean water is reaching the wall behind the tile. A moisture check can confirm this.
Q: Is mold on shower grout dangerous to my health?
A: Small amounts rarely cause problems for healthy people but spores can irritate the nose and throat and eyes. People with asthma or allergies may react more strongly. Wear a respirator while cleaning and fix the moisture source to reduce exposure.
Q: Should I check the drywall near my shower if the grout has mold?
A: Yes. Press gently on the wall near the shower. If it feels soft or shows stains that return after cleaning moisture may have reached it. A mild cleaner suits light surface spots but damaged sections need replacement.