
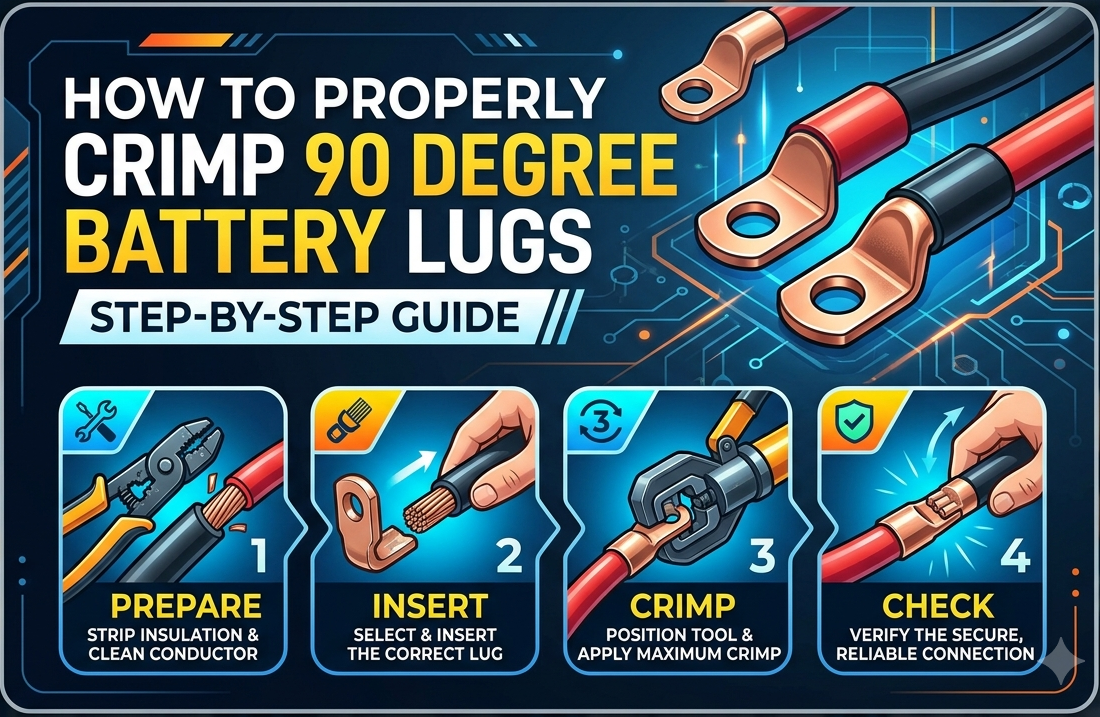
A battery cable does not always have the luxury of a straight run. Sometimes the terminal is sitting right next to a battery box wall, an inverter, or another cable, and forcing a thick cable around the corner is asking for trouble. That is where 90 degree battery lugs come in. They put the bend into the lug itself, allowing the cable to leave the connection at a cleaner angle. But even the best lugs can cause problems if the crimp is done poorly.
A good crimp is not complicated. Most of the problems come from rushing it, using the wrong die, or assuming that getting the cable into the barrel is enough.
Why a 90-Degree Lug?
The main reason is space.
A straight battery lug needs the cable to make the turn after it leaves the terminal. With a thick battery cable, that can take up a surprising amount of room. It can also put a lot of pressure on the lug and terminal.
A bent lug handles that turn before the cable leaves the connector.
This is useful in battery compartments, marine installations, RVs, car audio systems, solar setups, and inverter installations where there isn’t much room to work with. SELTERM’s 90-degree collection includes options for different cable sizes and stud sizes, from smaller 8 AWG connections through 4/0 AWG, with stud options including 1/4″, 5/16″, 3/8″, and 1/2″.
The angle may look like a small design detail, but it can make cable routing much easier.
Start by Matching the Lug to the Cable
Before picking up the crimper, check the cable.
A lug made for 2 AWG cable should be used with 2 AWG cable. The barrel needs to hold the conductor properly without leaving a large gap around it.
Then check the other end of the lug.
The hole in the ring needs to match the battery post, stud, busbar, or other terminal hardware. A 90-degree lug can fit the cable perfectly and still be the wrong choice if the stud hole is incorrect.
SELTERM’s range is organized by both wire size and stud size, which makes this part easier to check before installation.
It’s worth measuring instead of guessing. A few seconds with a ruler or caliper can save you from trying to make the wrong lug fit later.
Step 1: Cut the Cable Cleanly
Start with a clean, straight cut.
A heavy battery cable has a lot of individual copper strands inside. A rough cut can spread those strands apart and make insertion into the lug barrel unnecessarily difficult.
Use a proper cable cutter rather than crushing the cable with an ordinary pair of pliers.
Once the cable is cut, look at the end. The strands should remain together and should not be badly flattened or splayed out.
Step 2: Remove Only What You Need
Remove enough insulation for the conductor to sit fully inside the lug barrel.
Don’t strip several inches “just to be safe.” Too much exposed copper leaves more of the conductor open to moisture and accidental contact.
At the same time, don’t leave insulation inside the barrel. The copper needs to reach fully into the lug.
If the lug has an inspection hole, use it. It gives you a quick way to check that the conductor has gone far enough into the barrel. The cable should be properly seated before you make the crimp.
Step 3: Slide the Cable Into the Lug
Push the stripped end straight into the barrel.
You should not need to twist, force, or hammer the cable into place. If it won’t go in properly, stop and check the cable size and the barrel.
Make sure no individual strands are folded back outside the barrel.
This is also the point where you should check the orientation of the 90-degree bend.
Before crimping, hold the lug against the battery terminal and see which direction the cable needs to leave. Once the lug has been crimped, changing its orientation isn’t something you want to be doing.
A quick dry fit now is much easier than discovering the problem after the cable has been permanently crimped.
Step 4: Pick the Correct Crimping Tool
This is where a lot of otherwise good installations go wrong.
The crimping tool and die need to match the cable and lug. For larger battery cables, a proper hex-style or hydraulic crimper is a much better choice than trying to improvise with pliers or a hammer.
The purpose of the crimp is to compress the barrel firmly around the copper strands so the cable and lug behave like one solid connection.
Use the die size recommended for the cable and lug you’re installing. Don’t choose a die simply because it looks close enough.
Step 5: Position the Lug in the Die
Place the barrel into the crimping die and position it correctly.
The crimp should be made on the barrel section that is designed to be compressed. Keep the bent portion and ring terminal out of the die.
With a hex crimper, the barrel should sit evenly in the die rather than at an angle.
Once everything is positioned, apply steady pressure until the crimp is fully formed. Avoid stopping halfway through the compression.
The finished crimp should look even and secure rather than crushed on one side.
Step 6: Check the Crimp Before Moving On
Don’t immediately bolt the lug onto the battery.
Look at the connection first.
The barrel should be compressed evenly, with no obvious cracks, deep cuts, or badly deformed sections. The cable should not rotate freely inside the lug.
Give the cable a firm hand pull. It shouldn’t slide out or move around in the barrel.
For a proper installation, the conductor should remain firmly captured inside the lug after crimping.
If something doesn’t look right, fix it now. Once the cable is installed and buried behind other equipment, finding a poor crimp becomes much more inconvenient.
Step 7: Protect the Connection
Once you’re happy with the crimp, protect the cable end.
Adhesive-lined heat shrink is commonly used around battery cable lugs because it provides additional protection around the transition between the cable insulation and the metal lug. SELTERM’s 90-degree lug kits are available with heat shrink on various products, including its 2 AWG bent tinned copper lugs.
Slide the heat shrink into position before making the connection if the lug doesn’t already include it.
Apply heat evenly rather than holding the heat source in one place for too long. The tubing should shrink firmly around the cable and lug area without scorching the insulation.
Step 8: Make the Final Connection
Now place the 90 degree battery cable lugs onto the battery stud or terminal.
The ring should sit flat against the contact surface. Don’t force the cable into position just to make the hole line up. If the cable is pulling hard against the terminal, take another look at the routing.
The whole point of a 90-degree lug is to make the cable route cleaner. It shouldn’t be under constant tension once installed.
Tighten the terminal according to the battery, equipment, or terminal manufacturer’s recommended torque. Avoid guessing, especially on high-current battery connections.
Common Crimping Mistakes to Avoid
A few mistakes show up repeatedly with 90 degree battery lugs :
- Using the wrong lug size for the cable
- Choosing the wrong stud hole
- Stripping too much insulation
- Leaving copper strands outside the barrel
- Using an unsuitable crimping tool
- Crimping before checking the lug’s orientation
- Leaving the connection exposed to moisture
- Pulling the cable sideways against the finished lug
None of these requires a complicated fix. Most can be avoided simply by slowing down during the few minutes before the crimp is made.