
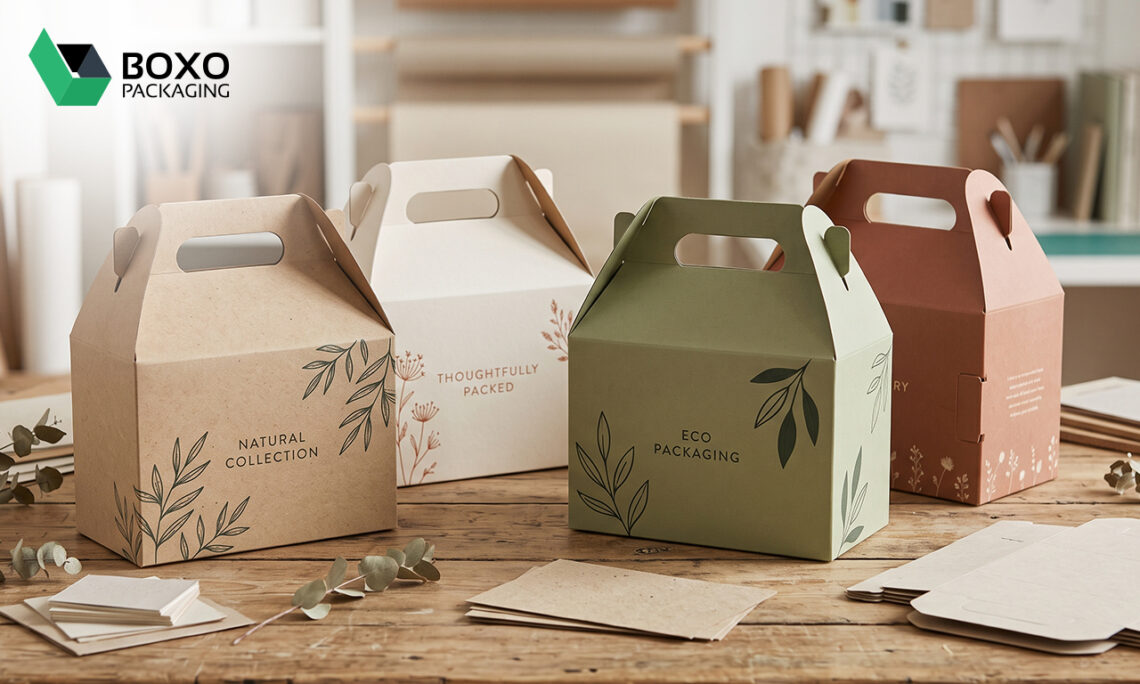
A built-in handle gives customers somewhere to grip a package without holding its sides. The peaked top of Gable Boxes creates that carrying point, while the body holds the purchase below it. This format suits a handover at a counter, provided the contents and handle have been tested together.
Think of a museum shop selling a mug with a folded tea towel. The customer needs a manageable package for the journey home, but the mug still needs protection inside. A handle solves the carrying problem, not the breakage problem. A fitted divider or protective wrap addresses the second task.
Start with the load beneath the handle
The package should be developed around the complete contents, including any insert. A sample containing only the main item can hide a poor fit once tissue, accessory cards, or protective partitions are added. Place the actual combination inside before approving dimensions.
Weight distribution matters as much as total weight. If the mug sits at one end and the towel at the other, the package may tilt when lifted. An insert that locates the heavier item closer to the center can make the arrangement more stable. Confirm the result by carrying a filled prototype rather than judging an empty mockup.
Before approving the structure, check these separate details:
- Leave enough finger clearance for a comfortable grip when the handle panels meet.
- Keep bulky wrapping below the sloping closure so the top can lock without pressure.
- Inspect the assembled bottom for gaps that could catch a small accessory.
- Try repeated lifts with the intended contents and inspect the handle slots afterward.
Let the roof shape influence the artwork
A flat artwork proof cannot show every effect of a peaked closure. Copy that looks centered on the dieline may sit across a crease after assembly. Reserve the main body panel for essential product information and treat the upper panels as a separate visual area.
The shape also affects presentation on shelves. Tall handles can interfere with low shelf spacing, while a deep front panel may hide a short product inside. Display Boxes can suit an open counter arrangement; Sleeve Boxes may be more appropriate when the product already has a protective inner carton.
For a handled purchase, Gable Boxes are most useful when their extra height serves a real carrying purpose. Confirm how staff will store the flat blanks, assemble them, and pass the filled package across the counter. A well-proportioned carton must work at that moment, not only in a photograph.
Tuck Packaging for Controlled Access and Shelf Fit
A folded flap slides into the carton body to close a tuck-style package. With Tuck Packaging, the opening method is part of a compact rectangular structure that can accommodate bottles, small tools, or boxed accessories. Its suitability depends on flap engagement, product fit, and the chosen base construction.
Compared with a handled carton, the emphasis shifts toward enclosing the product within a regular footprint. That can be useful for a stationery set sold from a narrow shelf. Customers carry the purchase in a shopping bag, so an integrated handle adds little; a readable front panel and accessible opening matter more.
Separate closure choice from bottom support
Straight tuck-end cartons place their major end flaps in the same direction. Reverse tuck-end cartons place them in opposite directions. These terms describe flap orientation, not a guaranteed strength rating. Neither label tells you that a particular board and size will support your product without testing.
A heavier item may need a different bottom construction or additional support. Ask for the complete structural drawing instead of approving a carton from a front-view rendering. A drawing should make clear which panels glue together, which folds staff form, and which flap the customer opens first.
Use a filled sample to review the opening sequence:
- Check that the main flap seats fully without pressing against the product.
- Confirm that side flaps fold inward without trapping loose instructions.
- Locate any thumb notch where fingers can reach it without scraping the contents.
- Decide whether a separate tamper-evident feature is needed for the intended sale.
Match internal clearance to the packing method
Too little space can make insertion awkward or scuff a printed product sleeve. Too much space lets the item move. Start with the product’s widest points, including projecting caps or attached labels, and then test the proposed allowance using production-like samples.
Custom Inserts can hold an irregular accessory inside a rectangular carton. For a multipiece stationery kit, a folded paperboard partition can separate a pen from a refill pack. A simple retail carton without an insert may be enough for a single, already protected item.
When discussing a brief with Boxo Packaging, distinguish the closure style from the board specification and the product-support requirements. Those are separate decisions, even when they appear together on one quotation. Ask what has actually been sampled rather than assuming that a familiar box name defines every construction detail.
The final choice between the two formats comes down to the journey after packing. A handled package supports a direct handover; a compact carton fits a shelf-and-shopping-bag routine. Specify Tuck Packaging around the access and fit your product needs, then use the finished sample to verify both.