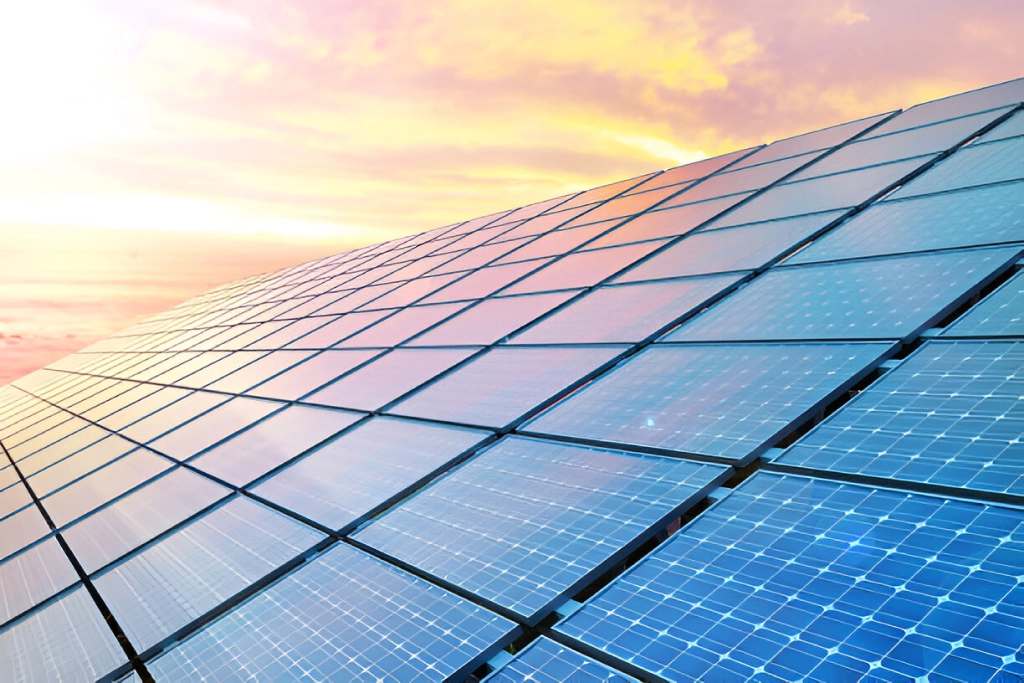
Installing a solar power system is a practical way to use renewable energy, reduce dependence on grid electricity, and manage household energy costs. A 3kW solar system is a popular option for small and medium-sized homes because it can support many everyday electrical appliances when designed according to the household’s energy needs.
If you are wondering how to install a 3kW solar system, the process involves assessing your electricity consumption, choosing the right equipment, preparing the rooftop, mounting the solar panels, connecting the inverter, and completing the required electrical checks. Although understanding these steps can help you plan your installation, electrical connections and rooftop work should be handled by qualified professionals.
In this guide, we explain the complete installation process, the equipment you need, the difference between on-grid and hybrid systems, and the important factors to consider before getting started.
What Is a 3kW Solar System?
A 3kW solar system is a solar photovoltaic (PV) setup with a total rated capacity of approximately 3,000 watts. It converts sunlight into electricity that can be used to operate household appliances or, depending on the system configuration, stored in batteries or exported to the electricity grid.
A typical residential installation may include:
- Solar panels with a combined capacity of approximately 3kW.
- A compatible solar inverter.
- A mounting structure for the rooftop.
- DC and AC cables, connectors, and electrical protection devices.
- Earthing and surge protection equipment, as required by the design.
- A bidirectional meter for eligible grid-connected systems, where required.
The number of panels depends on the wattage of each module. For example, six 500W panels provide a combined rated capacity of 3,000W. The actual configuration may differ depending on available panel models, roof dimensions, inverter specifications, and electrical design.
Step 1: Calculate Your Household’s Electricity Requirements
Before installing solar panels, assess how much electricity your household uses. This helps determine whether a 3kW system is suitable for your needs.
Start by reviewing your electricity bills from the previous six to twelve months. Look for your average monthly consumption in kilowatt-hours (kWh), commonly called units in India.
Make a list of the appliances you use regularly, such as:
- Fans and LED lights
- Refrigerators
- Televisions and computers
- Washing machines
- Water pumps
- Air conditioners, where applicable
Consider when these appliances operate and whether several high-power devices run simultaneously. A 3kW system does not automatically mean that every appliance can operate together at full power.
Solar generation also changes throughout the day and with the weather. A qualified installer can estimate expected energy production using your location, roof orientation, shading, and local sunlight conditions.
Step 2: Choose the Right Type of 3kW Solar System
The next step is deciding how your system should operate. The three common options are on-grid, off-grid, and hybrid solar systems.
On-Grid Solar System
An on-grid system connects to the electricity grid and generally does not include battery storage. Solar power supplies household demand when available, while electricity can be drawn from the grid when solar generation is insufficient.
Where permitted, surplus electricity may be exported to the grid under the applicable net-metering or other export arrangement. A standard grid-connected inverter usually shuts down during a grid outage for safety, so it does not normally provide backup power during a blackout.
Off-Grid Solar System
An off-grid system operates independently of the electricity grid and generally requires batteries to store energy for use when sunlight is unavailable. Its battery capacity and inverter rating must be selected according to the household’s energy consumption and backup requirements.
Hybrid Solar System
A hybrid system combines solar generation with battery storage and a grid connection. Depending on its design, it can provide backup power to selected circuits during an outage.
The best option depends on your budget, electricity supply reliability, backup requirements, and local regulations.
Step 3: Inspect the Rooftop and Select the Installation Area
A suitable rooftop helps the solar system produce electricity efficiently and remain secure over time.
Before installation, check the following factors:
Sunlight exposure: Choose an area that receives good sunlight during the day. Nearby buildings, trees, water tanks, and other structures can cast shadows that reduce generation.
Roof condition: The roof should be structurally sound enough to support the panels and mounting equipment. Older or damaged roofs may need repairs before installation.
Available space: The required area depends on panel dimensions, the mounting layout, spacing, and access requirements. The installer should confirm the usable area rather than relying on the panel count alone.
Orientation and tilt: In India, south-facing panels often provide favourable annual production, but east-west orientations can also be suitable depending on roof conditions and electricity usage patterns. The appropriate tilt depends on the location and installation design.
A professional site survey can identify shading issues, cable routes, mounting requirements, and potential safety concerns before work begins.
Step 4: Select Solar Panels, an Inverter, and Other Equipment
Choosing compatible components is essential for the safety and performance of a 3kW solar installation.
Solar Panels
Compare panels based on their rated output, efficiency, dimensions, product warranty, and suitability for the installation environment. Higher-wattage panels may reduce the number of modules required, but their physical dimensions must fit the available roof space.
Solar Inverter
The inverter converts the direct current (DC) generated by solar panels into alternating current (AC) used by household appliances. Its capacity and electrical specifications must match the solar array and the intended system configuration.
The installer should also check the inverter’s allowable DC voltage, current, and panel-string requirements.
Mounting Structure and Protection Equipment
Use a mounting structure appropriate for the roof type, local weather, and expected wind loads. The installation should also include correctly specified cables, isolators, circuit protection, earthing, and surge protection where required.
Avoid choosing equipment based only on the lowest price. Compatibility, safety certifications, warranty coverage, and access to after-sales service are important considerations.
Step 5: Install the Solar Panel Mounting Structure
Once the design and equipment are approved, the mounting structure can be installed.
The structure holds the panels at the selected angle and keeps them securely attached to the roof. The mounting method depends on whether the roof is concrete, metal, tiled, or another material.
Professional installers should ensure that:
- Mounting points are properly positioned and secured.
- Roof waterproofing is protected.
- The structure can withstand relevant wind loads.
- Panel spacing allows for ventilation and maintenance.
- Safe access routes are maintained for inspection and cleaning.
Do not drill into a roof or attempt rooftop installation without the appropriate training and fall-protection equipment. Incorrect mounting can lead to water leakage, structural damage, or panels becoming loose during severe weather.
Step 6: Mount the Solar Panels and Connect the System
After the mounting structure is ready, the installer positions the solar panels and secures them according to the manufacturer’s instructions.
The panels are then electrically connected in a suitable series or parallel arrangement, depending on the inverter specifications and system design.
During this stage, the installer checks connector compatibility, cable routing, polarity, and protection against moisture or mechanical damage. Cables should be secured neatly and kept away from sharp edges and areas where they could be damaged.
Solar panels can produce electricity whenever exposed to light. Therefore, electrical connections should not be treated as a simple do-it-yourself task. A qualified solar electrician should carry out the work using appropriate isolation procedures and test equipment.
Step 7: Install the Inverter and Complete Electrical Connections
The inverter is installed in a location that meets the manufacturer’s ventilation, temperature, moisture, and access requirements. Depending on the equipment, this may be an appropriately protected indoor or outdoor location.
The installer connects the solar array to the inverter and completes the AC connection to the household electrical system. Required protective devices, earthing, and isolation arrangements must be installed according to the design and applicable electrical standards.
For a grid-connected system, the installation must also meet the local distribution company’s interconnection requirements. This may involve an inspection, approval, meter installation, or meter configuration before the system can export electricity.
Do not energise the installation until the necessary electrical tests and safety checks have been completed.
Step 8: Test and Commission the Solar System
Commissioning confirms that the system has been installed correctly and is ready for normal operation.
A qualified installer should verify the electrical connections, protective devices, earthing, inverter settings, and operation of the monitoring system. They should also confirm that the system meets the applicable requirements for grid connection, where relevant.
After activation, monitor the inverter display or mobile application to understand how much electricity the panels generate.
Keep records of the installation design, equipment specifications, warranties, inspection documents, and commissioning results. These records can be useful for troubleshooting and future maintenance.
How Much Electricity Can a 3kW Solar System Generate?
A 3kW system’s daily electricity production depends on sunlight, season, shading, panel orientation, temperature, and system losses.
For illustration, if a system receives the equivalent of five peak-sun hours in a day and operates at an assumed overall performance ratio of 80%, its estimated daily production would be:
3kW × 5 hours × 0.80 = 12kWh per day.
This is an example, not a guaranteed output. Actual generation can be lower or higher depending on local conditions. Monthly production also varies with the weather and season.
Remember that a solar system’s rated capacity is not the same as the amount of electricity it produces continuously. A 3kW system does not generate 3kW around the clock.
Maintenance Tips for a 3kW Solar System
Solar panels generally require relatively little routine maintenance, but regular checks help maintain performance and identify problems early.
- Clean the panels when necessary: Dust and bird droppings can reduce output. Follow the manufacturer’s cleaning guidance and avoid unsafe rooftop access.
- Monitor electricity generation: Check for unexpected drops in output and compare performance under similar weather conditions.
- Arrange professional inspections: Have mounting hardware, cables, electrical protection, and earthing checked as recommended.
- Keep the surrounding area clear: Manage nearby vegetation and other sources of shading where possible.
- Maintain system records: Save invoices, warranties, service reports, and inverter alerts for future reference.
Do not open the inverter or handle exposed electrical connections yourself. Contact a qualified technician if you notice damaged cables, unusual smells, repeated inverter faults, or signs of water entering electrical equipment.
Frequently Asked Questions
1. How long does it take to install a 3kW solar system?
A straightforward rooftop installation may take around one to three days of on-site work, depending on the roof, equipment, wiring, and site conditions. Approvals, inspections, and grid-metering arrangements can extend the overall timeline.
2. How many solar panels are needed for a 3kW system?
The number depends on the wattage of each panel. Six 500W panels or eight 375W panels each provide a combined rated capacity of 3kW, although the final layout depends on equipment availability and the installation design.
3. Can a 3kW solar system run an air conditioner?
It may support an appropriately sized air conditioner under suitable operating conditions, but compatibility depends on the air conditioner’s power consumption, starting requirements, other appliances running simultaneously, and available solar generation. A professional load assessment is recommended before installation.
4. Does a 3kW solar system work during a power cut?
A standard grid-connected system generally shuts down during a power cut for electrical safety. Backup power requires a suitably designed hybrid or off-grid arrangement with compatible equipment and, typically, battery storage.
5. Is government approval required for a 3kW rooftop solar system in India?
Requirements depend on the type of installation, state, electricity distribution company, and applicable scheme. Grid-connected systems seeking subsidies or net metering may need registration, approvals, inspection, or an approved meter. Check the current requirements through the relevant distribution company and official government portal before installation.
Conclusion
Learning how to install a 3kW solar system helps homeowners understand the equipment, planning, safety requirements, and steps involved in switching to solar electricity. The process starts with assessing household consumption and selecting the right system, followed by a rooftop inspection, equipment installation, electrical testing, and commissioning.
A safe and effective installation depends on compatible components, proper mounting, compliant electrical work, and realistic expectations about solar generation. Before making a decision, compare system designs, warranty terms, maintenance support, and applicable grid-connection requirements.
For homeowners exploring rooftop solar solutions, Solar Prabha can be a starting point for learning about solar installation options and planning a system suited to their property’s requirements. Choose a qualified installation professional to ensure that your final setup meets relevant safety and electrical standards.